Nanoindentation provides a wealth of information on the local mechanical behavior of materials, either elasticity or damage.
This technique is a nano- and microscale instrumented indentation hard test. It consists of a controlled load (P) applied through a diamond tip in contact with specimen. The penetration depth (h) of the tip in the material is recorded as a function of the applied load. A nanoindenter can record depths to sub-nanometer and loads to sub-mN resolutions, respectively. From the recorded load-depth (P–h) curve, mechanical properties such as Young’s modulus E (i.e. stiffness) and hardness H can be evaluated.
In general, two kinds of behavior may be observed. This is also the case for pyrocarbons.
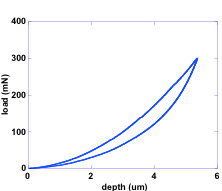
1. Elastic behavior: the material does not undergo mechanical damage : its deformation is fully reversible. The value of Young’s modulus is extracted from
the slope of the load versus the square of the displacement (see the parabolic curve below).
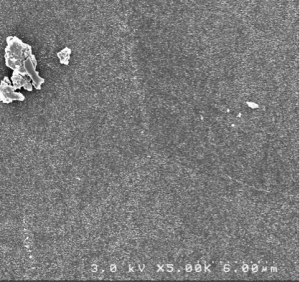
The sample after testing has quite no remaining imprint from the diamond triangular tip. The load-displacement
curve shows a return to origin: fully reversible displacement.
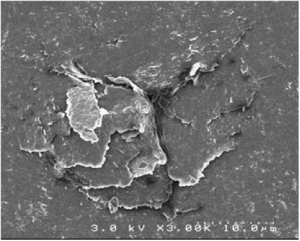
2. Elastic behavior with damage: in this case, a permanent deformation remains after unloading. It is visible as an imprint of the indenter. The stiffness may be computed by a slightly different method from the slope of the beginning of the unloading curve (i.e. at maximum load); and the hardness is defined as the ratio of the maximal load to the imprint surface.


